
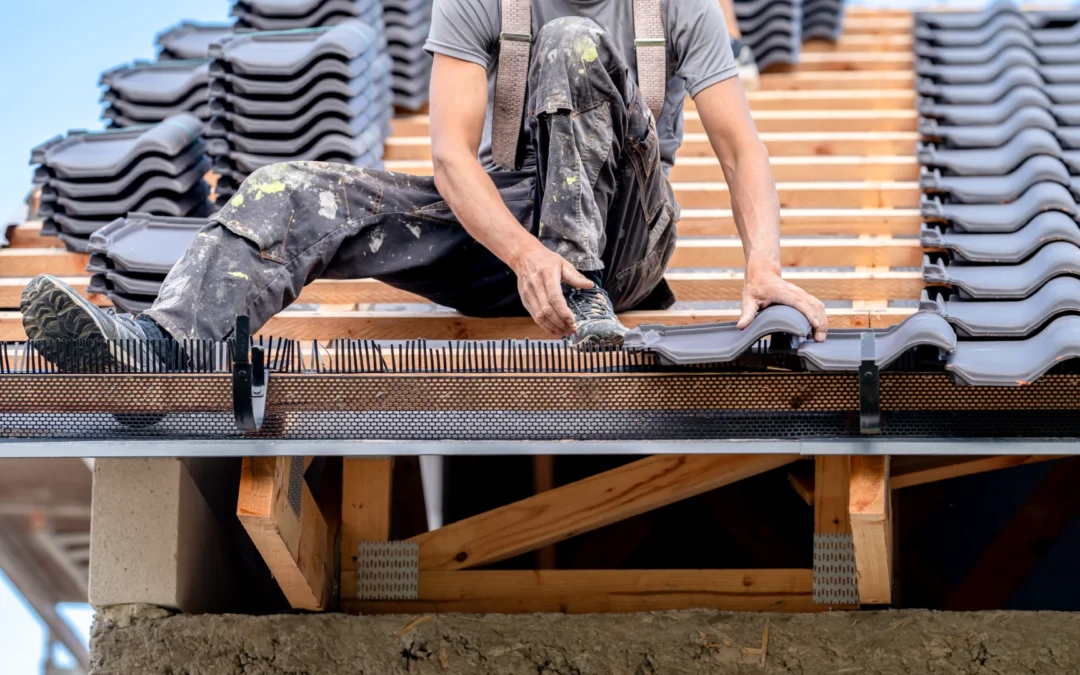
One of the things we’ve noticed over the years is that homeowners feel much more comfortable with a job when they understand what’s going to happen. Home improvement work can feel opaque, someone turns up, disappears behind a scaffold board, and hours later everything looks different. Knowing what to expect at each stage takes a lot of the uncertainty out of the process.
This is what a proper, professional fascia and soffit installation looks like from start to finish.
Stage One: The Survey
Before any work starts, a proper installer will carry out a survey of your property. This isn’t just a quick glance from the pavement, it involves getting close to the existing roofline to assess the condition of the current fascias and soffits, checking for any signs of underlying damage to the rafter feet or wall plate, and taking accurate measurements. This is also the time when any tricky areas, corners, returns, valleys, are identified and planned for.
A survey done properly takes time and should feed directly into an accurate, itemised quote. If someone quotes you for the job without inspecting it up close, treat that as a warning sign.
Stage Two: Scaffolding
For the vast majority of properties, scaffolding is required. Working at height on a roofline is genuinely dangerous without the correct setup, and anyone who offers to do the job without scaffolding, using just a ladder and a mate holding it, is cutting a corner that could prove costly. Proper access scaffolding allows the installer to work efficiently and safely, and it also means the finished job isn’t compromised by the limitations of what’s reachable.
Scaffolding is typically erected the day before or on the morning of the installation and comes down on completion. The scaffold company is usually organised by the installer, though some homeowners prefer to arrange this themselves.
Stage Three: Removal of the Existing Roofline
The guttering is the first to come off, carefully, and set aside if it’s being reused or replaced as part of the job. The existing fascia and soffit boards are then removed. On timber installations, this can occasionally reveal surprises. We’ve lifted boards on properties that looked perfectly fine from outside and found rafter feet that were significantly deteriorated. It’s not common, but it does happen, and any underlying damage needs to be addressed before the new boards go on.
This is also the stage where any necessary carpentry repairs are carried out. We never fit new boards over damaged timbers, it’s a shortcut that creates bigger problems later.
Stage Four: Fitting the New Boards
Once the surface is prepared and any repairs are complete, the new fascia and soffit boards are measured, cut, and fitted. For uPVC installations, this involves fixing the fascia boards securely into the rafter feet with appropriate fixings, fitting the soffit boards into the fascia channel, and ensuring all joints, corners, and returns are properly sealed. The continuity of the fit is important, gaps at joints or corners are the points where water most commonly finds its way in.
For timber, the process is similar in sequence but involves different techniques for joining and sealing, and the boards will typically need priming and painting before or after fitting depending on the specification.
Stage Five: Guttering and Finishing
With the new fascia board in place, the guttering is then fitted or refitted. This includes setting the correct fall, guttering needs to run at a slight angle to ensure water drains towards the downpipe rather than pooling in the middle of the run. Every bracket is checked, the downpipes are fitted and tested, and the whole system is checked for any leaks at the joints.
The final stage is cleanup, all the old materials are taken away, the scaffold comes down, and you’re left with a roofline that should serve you well for the next 25 years.
For more information about our installation service, visit our fascias and soffits service page.